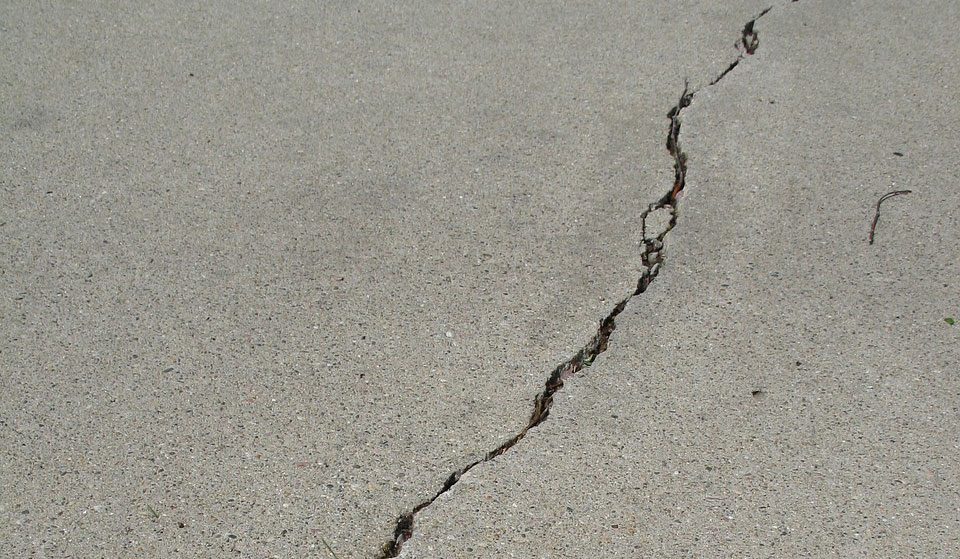
Three things are certain in life: death, taxes and … cracks in concrete. Luckily, repairing unsightly or dangerous cracks in concrete is inexpensive and easy. And mending concrete fissures does more than improve the appearance of cementitious structures. Closing the door on water’s ability to penetrate driveways, walkways and patios improves their lifespan.
Concrete repair is a project that will improve the look and the strength of any concrete surface. With the right tools and products for the job, you can make your concrete stand the test of time. The recommended steps outlined here can mend cracks less than 1/4-inch wide and repair hairline cracks. Anything much larger requires a closer look. And repairing crumbling concrete requires an altogether different method. To keep water from entering small cracks, and weeds from coming through, follow the easy steps below.
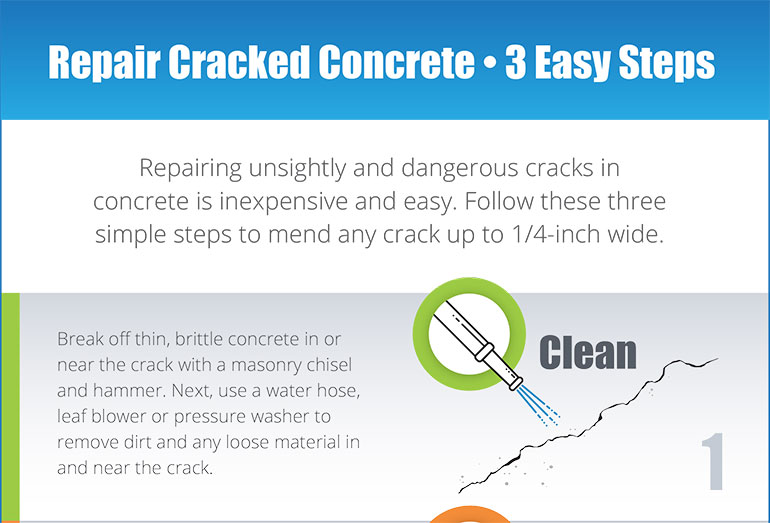
1. Clean
Before you start your concrete crack repair, you need to prepare the surface so that your repair job will last. Failing to prepare can lead to the concrete cracking again, necessitating a re-do. Don’t waste your time by trying to skip this step.
Break off anything that looks thin and brittle around the crack with a masonry chisel and hammer (don’t forget eye protection). Chip the concrete at the crack site down to a depth of one inch below the surface plane. Scrape away old caulk with a metal putty knife. Use a leaf blower, or, better yet, a pressure washer, to remove dirt and loose material both in and near the break, using a wire brush if necessary. Once the area is free of dirt and debris and is dry to the touch, move on to step two.
2. Caulk or Mortar
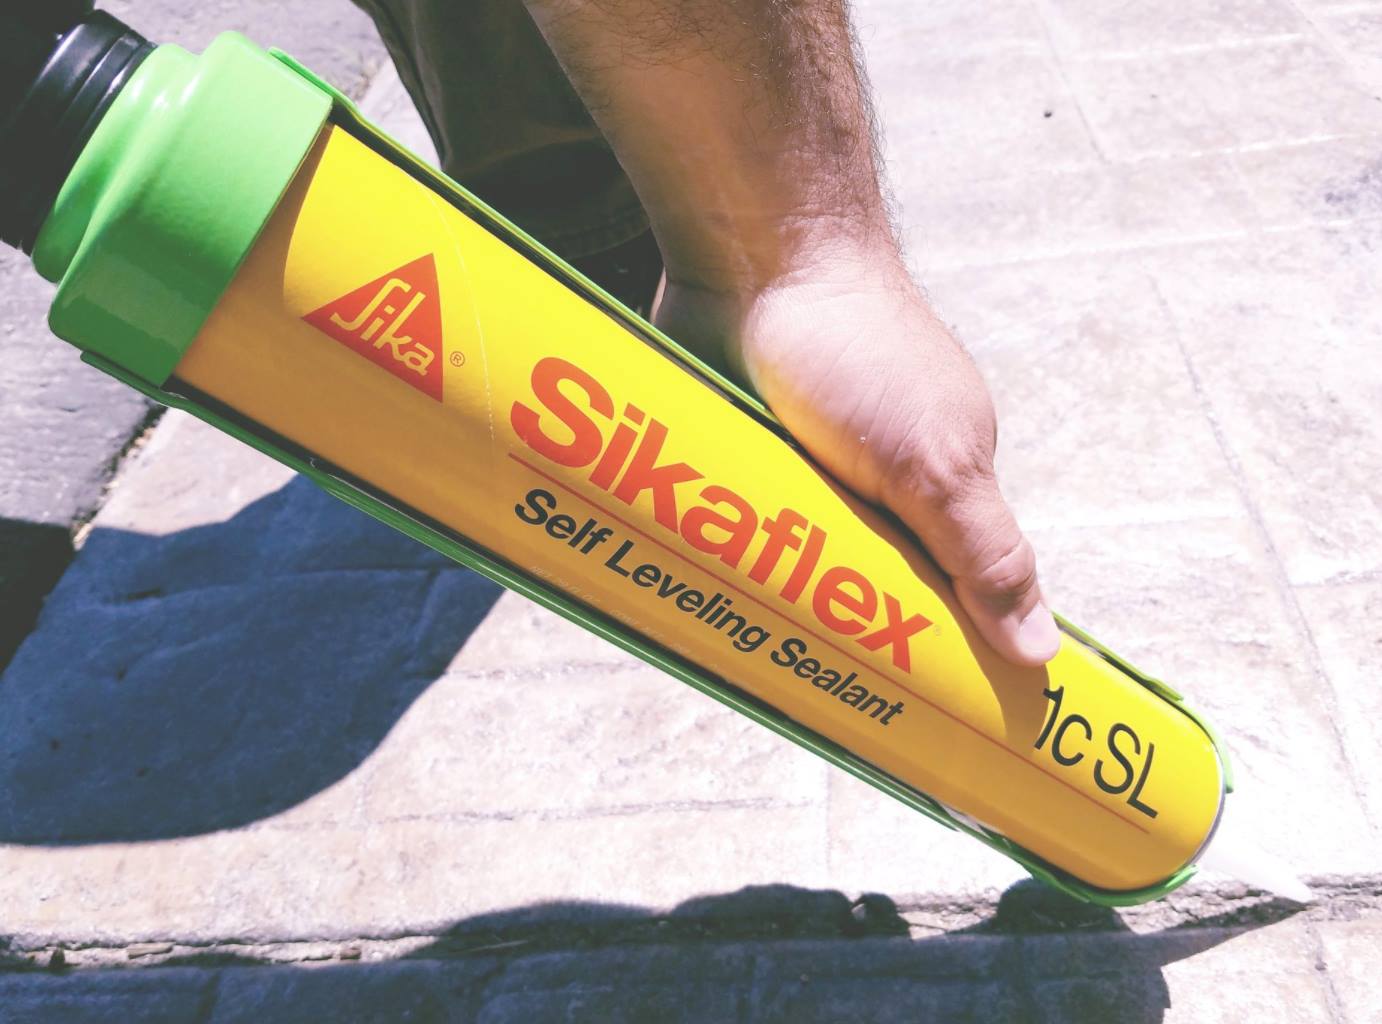
Ensure the crack and surrounding area is dry before caulking. Pick a nice, warm day. Most caulks to repair concrete require ambient temperatures between 50–100 degrees Fahrenheit for proper adherence. Fill the crack with backer rod if deeper than 1/2-inch wide and make sure to use the appropriate diameter. Use a gray, self-leveling caulk for cracks on flat surfaces. Use a more viscous, non-sag caulk for breaks on sloped or vertical areas. Any caulk that’s flexible and resistant to weather extremes will work fine, but we suggest Sikaflex. Fill the crack with caulk, wet a finger and smooth for an even finish, or use a putty knife (self-leveling sealant shouldn’t need to be smoothed). Repeat this process for every crack that measures 1/4-inch wide or less in driveways, walkways and patios.
In some cases, larger cracks can be repaired using a mortar mix. You’ll want to mix the product by following instructions on the bag, then pour the wet mix into the crack and use a trowel to press it in, blending it to match the existing material. Scrape away any excess for a clean, smooth finish.
3. Wait
Step back, pat yourself on the back, have a cold drink—just don’t drive or walk on the caulk or mortar until it cures. The cure time varies by manufacturer and product, so check the packaging. Depending on the weather, Sikaflex products will be ready for light traffic in one or two hours but shouldn’t be driven on for three to five days. So, if you are sealing cracks in a driveway, we suggest doing one side at a time so access to the garage isn’t completely blocked. Three to five days might sound like a long time to wait, but tire tracks in caulk joints last forever.
Repairing Cracks in Driveways
If your driveway is full of cracks, then the above steps may not be quite enough to address the problem. However, you don’t have to break up the entire pad and pour a new one. Concrete resurfacing can repair cracks in larger surfaces.
Starting with a clean surface is key for this type of repair as well, so don’t skip it. You can use concrete overlays or microtoppings to apply a thin layer of cement to your cracked driveway. You can also try stamping or texturing the overlay for a cool look and to disguise the appearance of cracks in your driveway.
Repairing Cracks in Floors
Many people have concrete floors in their homes, as they are durable modern, and attractive. Cracks can occur in these slabs as well, and repairing them takes a little bit of finesse since you want them to look as attractive as they did fresh after pouring. Following the same steps above is your best bet, but aim for a more delicate touch to the application and finishing process. Take special care to smooth the crack repair product as much as possible so that it blends in seamlessly with the existing slab. While cracks are normal, you can camouflage them so that you can’t even tell a repair took place.
Repairing Cracks in Patios
While patios don’t get the same wear and tear as driveways, since there are no cars going over them day after day, they do get cracks and are often high-traffic areas in backyards. You can repair hairline cracks in concrete patios to avoid dirt, debris and weeds from becoming an issue, and you can do it rather easily by following the steps above. These small cracks only need caulk or epoxy for a long-term repair. However, larger cracks in your patio may require concrete repair mix similar to one you would use on a driveway.
Don’t Let Concrete Cracks Get You Down
Cracks in concrete happen all the time, so don’t get discouraged. You don’t have to start from scratch with a brand-new concrete pad. Repairing cracks yourself is entirely possible with the know-how and the right products.
When you repair cracks in concrete, it improves both the lifespan and appearance of driveways, walkways, floors and patios. Caulk keeps water and weeds away from those pesky breaks in concrete slabs. Intermountain Concrete Specialties has the products and expertise to help with any project. And with seven locations from St. George to Idaho Falls, help is never far away.
Q&As for "How-to: Repair Cracks in Concrete in Three Easy Steps"
Are hairline cracks in my concrete something to worry about? Can I fix them myself?
Hairline cracks happen, but yes, filling them prevents water damage and future widening. Our 3-step guide uses caulk for easy DIY repair! #concretecrackrepair #DIYprojects
My driveway has wide cracks. Is resurfacing the only option?
Not necessarily! We explore patching methods for smaller cracks and resurfacing for larger areas in the blog. #crackeddrivewayfix #concretesolutions
I'm worried about using the wrong products. What type of caulk or mortar should I choose?
The right choice depends on crack size and location. We recommend self-leveling caulk for flat surfaces and non-sag for slopes. Check out our guide for specific product suggestions! #concreterepairproducts #howtochoosecaulk
How long does it take for the repair to cure before I can use my driveway again?
Patience is key! Cure time varies by product. We mention specific wait times for Sikaflex products in the blog, but always check the packaging for exact instructions. #concretecuringtime #safeguardingrepairs
I have cracks in my concrete floor. Will repairing them damage the finish?
Not if done carefully! Our guide emphasizes a delicate touch for finishing repairs in floors. Blending seamlessly is possible! #concretefloorrepair #flawlessfinishing